
Facebook is an important piece of many online business’ marketing plans. We write blog posts and create awesome content, so we want to share it with our followers on Facebook.
But sometimes, we put in the link and the post or page title, or the image is all wrong. There are a few key settings to make sure you set prior to sharing your link.
And, if you share it and decide you want to change it, you need to take a few steps to let Facebook know that you’ve made changes.
So, let’s get going. Below the video, I’ve written out all of the steps with images if you prefer that style of learning.
Step #1 – Set Your Featured Image
To set the specific image that you want Facebook to pull for your post, you need to set the Featured Image for that post or page.
To do this, go to your blog post OR your page. Scroll down and in the right hand column, you’ll see an area titled Featured Image.
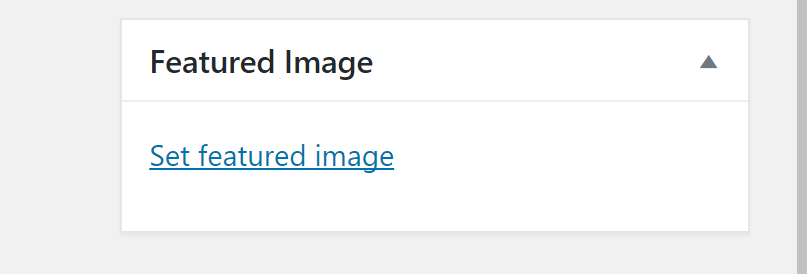
Next, click on the little blue link that says “Set Featured Image.”
This will take you to your media library. Here, you can either upload an image to use or choose an existing image.
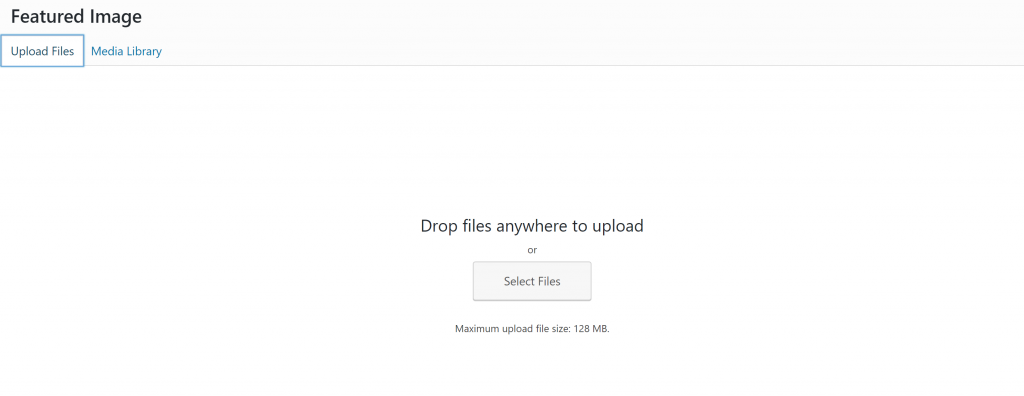
Once you upload your file, or if it’s already in your media library, click on the image you want and “Set Featured Image.”
Now, when Facebook “sees” your link, it will choose the Featured Image as the preferred thumbnail. You should always set a featured image on your blog posts, and choosing a Featured Image on your main pages is smart too, especially if you’re going to be sharing your website URL on Social Media.
Step #2 – Set Your Page/Post Title
To do this step, you need to have the Yoast SEO plugin installed.
Scroll down below your blog post or page content to the Yoast SEO editor.
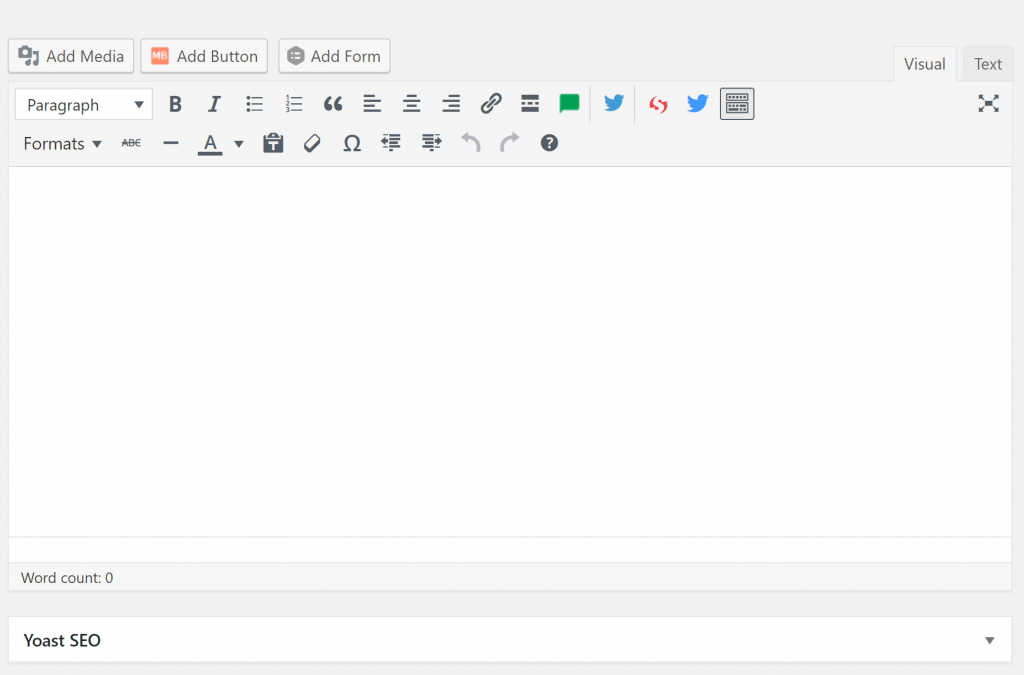
Click on the small arrow on the right and open it up. Then, click on the little blue triangle shape that’s highlighted in the image below. This will open up your Social Media Settings.
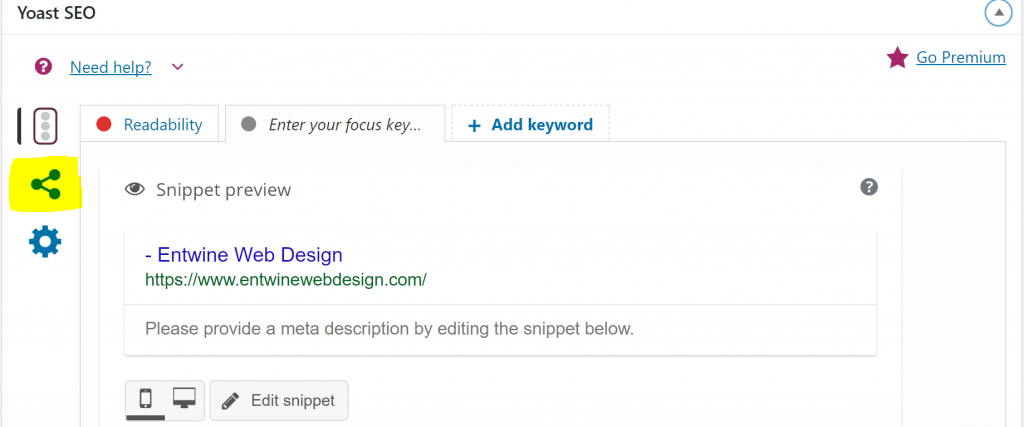
Here, you can set the title you’d like Facebook to use and the image (if you didn’t set a featured image).
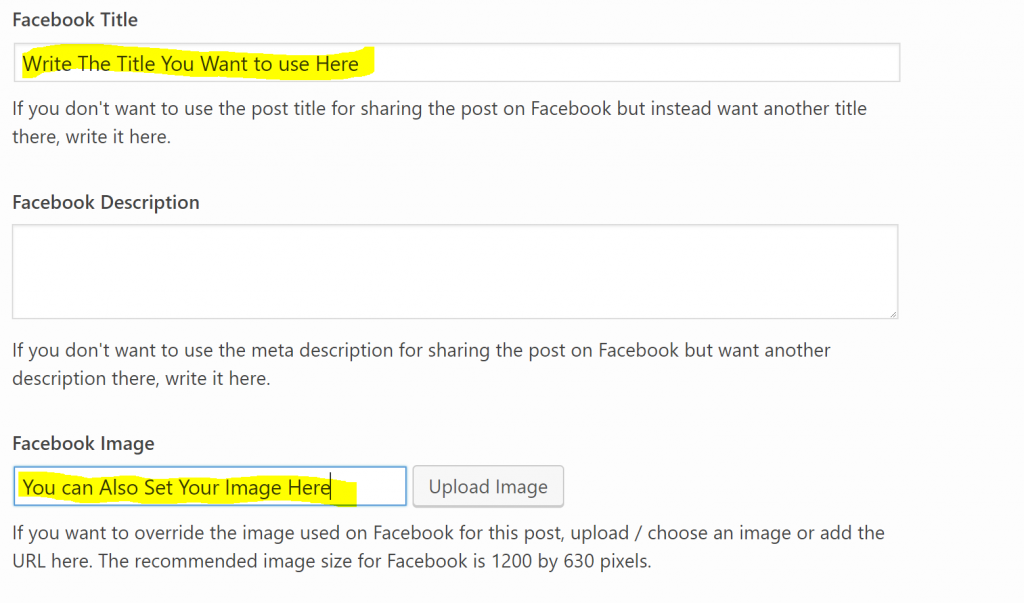
Once you have these set, you can go update or save your post or page with these new settings.
But, what do you do if you already tried to share your post or page to Facebook, and it’s showing the wrong image or title? Or, you’ve gone through the above steps, and it’s STILL showing the wrong image or title?
Facebook will show the wrong image or title because they show whatever they “found” the first time you posted. Facebook won’t re-scrape the page (or take another good look at your link) unless you tell it to.
How to Force Facebook to Re-scrape Your URL, so your FB Link Shows the Right Image and Title
For this step, you need to go here: https://developers.facebook.com/tools/debug/

This page looks a little scary, but it’s perfectly safe. Just put the URL of the page you want Facebook to “re-scrape” into the little box and hit Debug. So, if you’d like FB to update the image for a blog post link, put the URL for that blog post into the Debug box.
It will take you to a page where it shows you what the FB preview link looks like now. If it’s not right, double check your settings in your Yoast box and hit the gray “Scrape Again” button.
You should see a preview of what FB will show when you share the link. If it’s still not working and you’re running a caching plugin, clear the cache for that page and try again.
If FB is giving you this warning: fb:app_id hasn’t been included in the meta tags, then you need to take one more quick step.
First, you need to create an app. Don’t panic. It’s super easy. Go to this FB page: https://developers.facebook.com/docs/apps/register
Click on Create a New Facebook App. You can name it whatever you’d like, but we’re going to put the app ID into Yoast, so I named mine “Yoast.”
Once you’ve created it, you’ll automatically go to your new App page. On the top bar, you’ll see “APP ID:” followed by a number. Copy that number.
Then, go back to your website. On the dashboard menu (the black one on the left) hover over SEO, until the dropdown menu appears. Click on Social.
Select the Facebook Tab on the top of that page and enter your Facebook App Id in the box. Then, save your changes.
Clear your cache again if you need to and return to the debugger tool. Have FB scrape your page again, and hopefully now it will work!!
You can also have Facebook rescrape any pages or posts you’ve updated or changed.
It’s pretty handy!
Conclusion
Social media can be a huge piece of any online marketing plan, but it can be frustrating when it doesn’t work like you expect it to.
Follow these steps to make sure that you’re highlighting what YOU want to highlight on your Facebook page rather than what Facebook decides to show.